Fonts Plugin
  • Introduction
  • Installation
  • Developers
  • Optimization
    • Optimization Panel
    • Font Loading
  • Basic Settings
    • Base Typography
    • Headings Typography
    • Buttons and Inputs Typography
  • Advanced Settings
    • Branding
    • Navigation
    • Content
    • Sidebar
    • Footer
    • Load Fonts Only
    • Custom Elements
  • Classic Editor
    • Getting Started
  • Gutenberg
    • Getting Started
    • Transformations
  • Custom Font Uploads
    • Custom Font Uploads
  • Debugging
    • Reset All Fonts
    • Force Styles Setting
    • CSS Font Display
    • Clear Fonts Cache
  • Integrations
    • Adobe Fonts
    • Beaver Builder
    • Elementor
    • WPBakery
    • Divi Builder
  • Translations
    • Contributing
  • Fonts Plugin Pro License Key
  • Fonts Plugin Pro Files
  • Updating Fonts Plugin Pro
  • Manual Update
  • Support Access
Powered by GitBook
On this page

Was this helpful?

  1. Advanced Settings

Custom Elements

PreviousLoad Fonts OnlyNextGetting Started

Last updated 2 years ago

Was this helpful?

Appearance → Customize→ Fonts Plugin → Custom Elements

Custom Elements allow you to build Typography settings for any element on your website.

Custom Elements can be created under Google Fonts → Custom Elements.

Before creating Custom Elements it's important that you save any other changes you have made in the Customizer. This is because when you press 'Save Changes' to generate the Custom Elements controls, the Customizer will refresh and lose any unsaved settings.
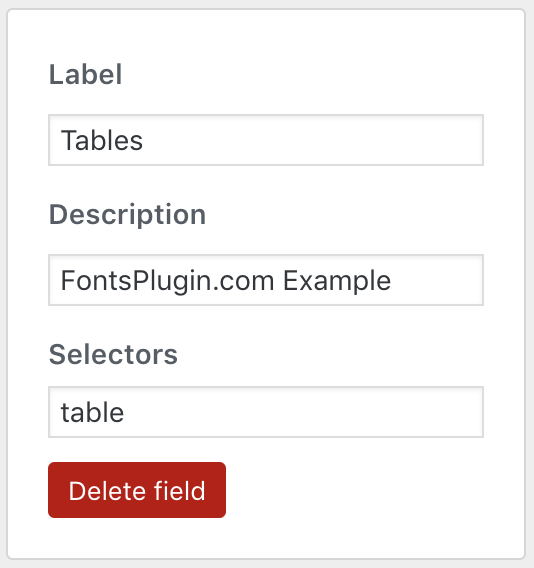
A Selector can target a single element, or multiple elements separated by commas. For example:

.widget-title, #form, table, h1

Once you have created your Custom Elements. Press Save Changes. You will then be able to customize your Elements under Google Fonts → Advanced Settings → Custom Elements.

The Selectors field accepts any valid That means there is no element on your website that is off-limits.

Further Reading:

CSS Selectors.
How to Find CSS Selectors